Creating an account
Welcome to Glide!
This guide explains how to create your Glide account, choose an available service and complete your registration.
If your accommodation has sent you a pre-arrival sign-up link, you can use it to begin setting up your account before moving in. If you have not received a link, or would prefer to wait, you can create your account after arriving at your accommodation.
Does your property use Glide_Signup and Glide_Resident?
If these networks are available, your property uses a personal Wi-Fi password. Connect to Glide_Signup temporarily to register and receive your personal three-word Wi-Fi password, then connect to Glide_Resident using that password. Please follow our Get Connected guide for the complete registration and connection process.
Watch our account creation guide
Create your Glide account
Step 1 – Open the Glide welcome page
After arriving at your accommodation, connect to the Glide network and open your web browser. You should be redirected automatically to the Glide welcome page.
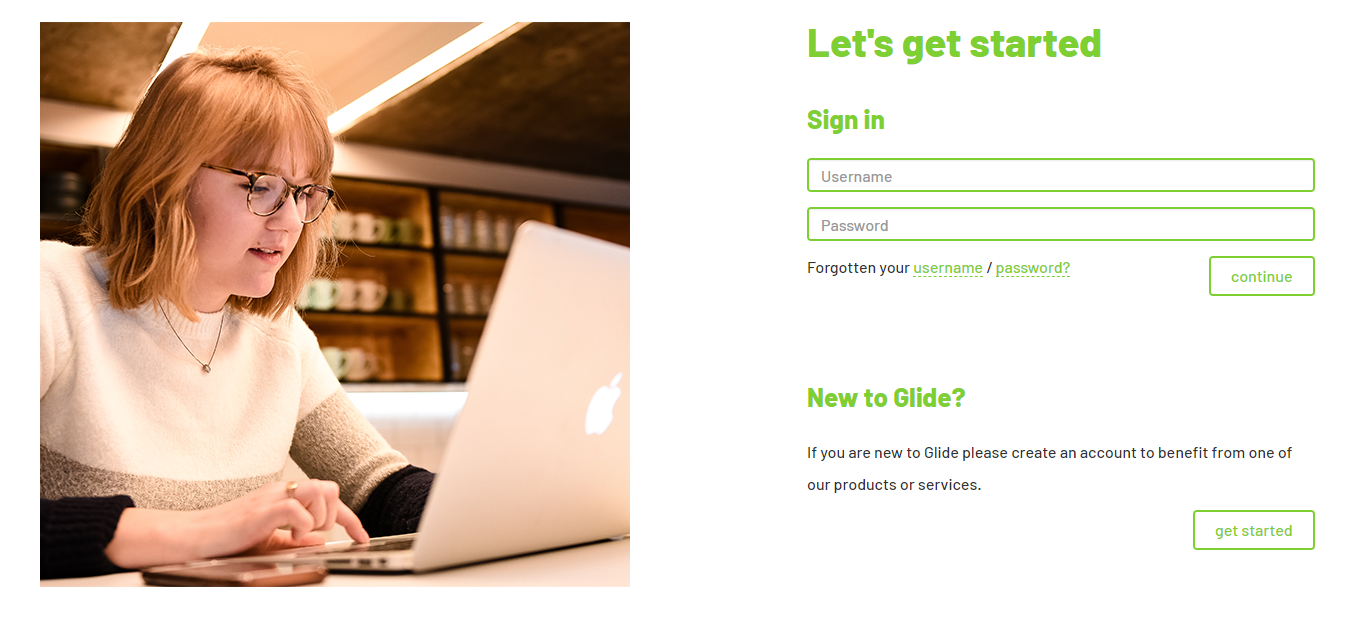
Depending on the service at your property, you may be redirected to bbm.glidestudent.co.uk/login or welcome.glide.co.uk.
Residential customers: If you are not a student, replace glidestudent with glideresidential in any website address above that contains it.
Browser security message: Your browser may display a message while the network redirects you to the welcome page. Only continue if you are connected to the official Glide network and the page redirects to the expected Glide welcome screen. If anything looks unfamiliar, do not enter your details and contact the Service Desk.
Step 2 – Select Get Started
If you are new to Glide, select Get Started. The next page will show the services and upgrades available at your property. Use the categories at the top of the page to browse the available options.
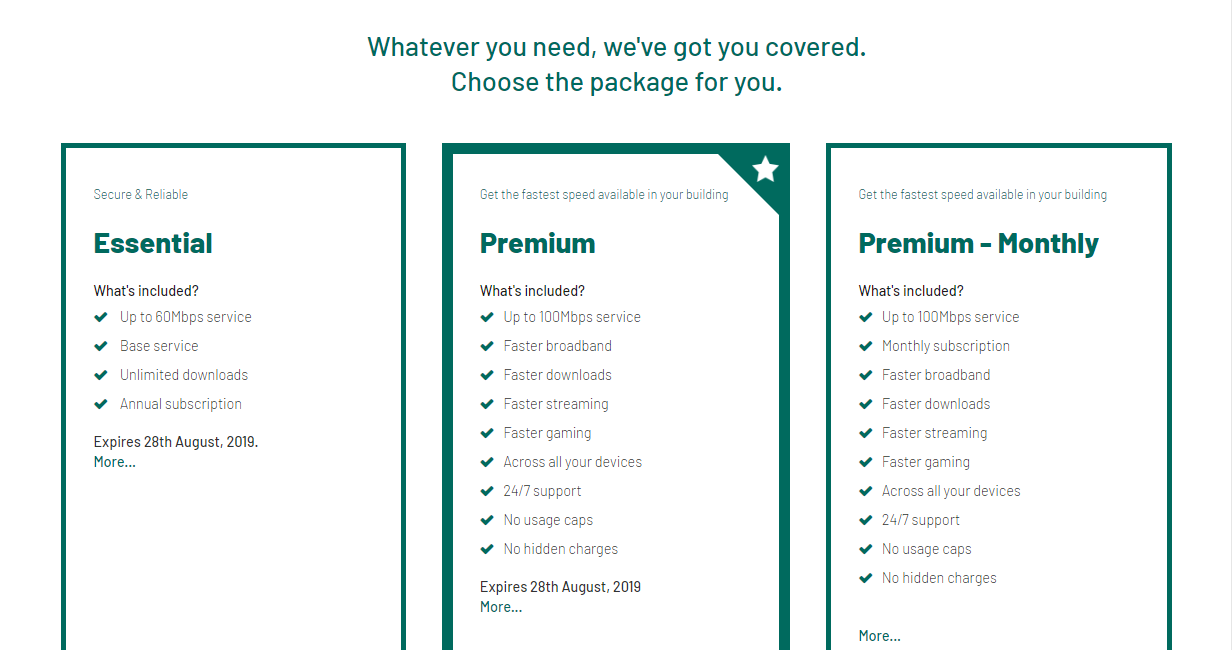
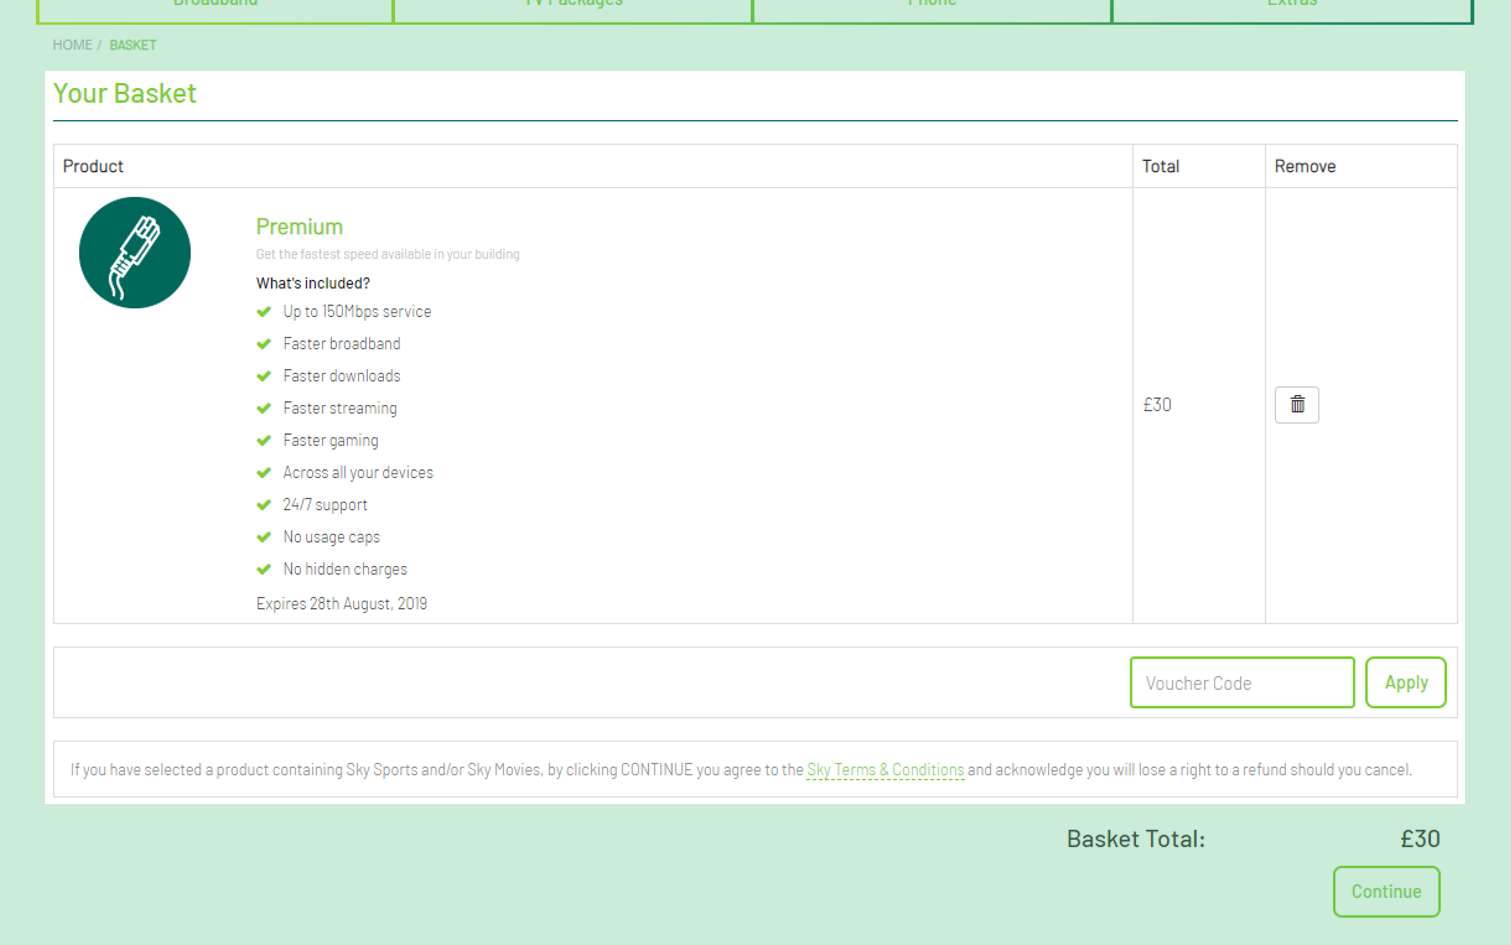
To choose a paid service or upgrade, select the  add to basket button, then select Proceed to Checkout. You can view the contents of your basket at any time by selecting the basket in the top-left corner.
If an inclusive or free service is available at your property, you may be able to continue directly to entering your account details without making a payment.
Step 3 – Enter your account details
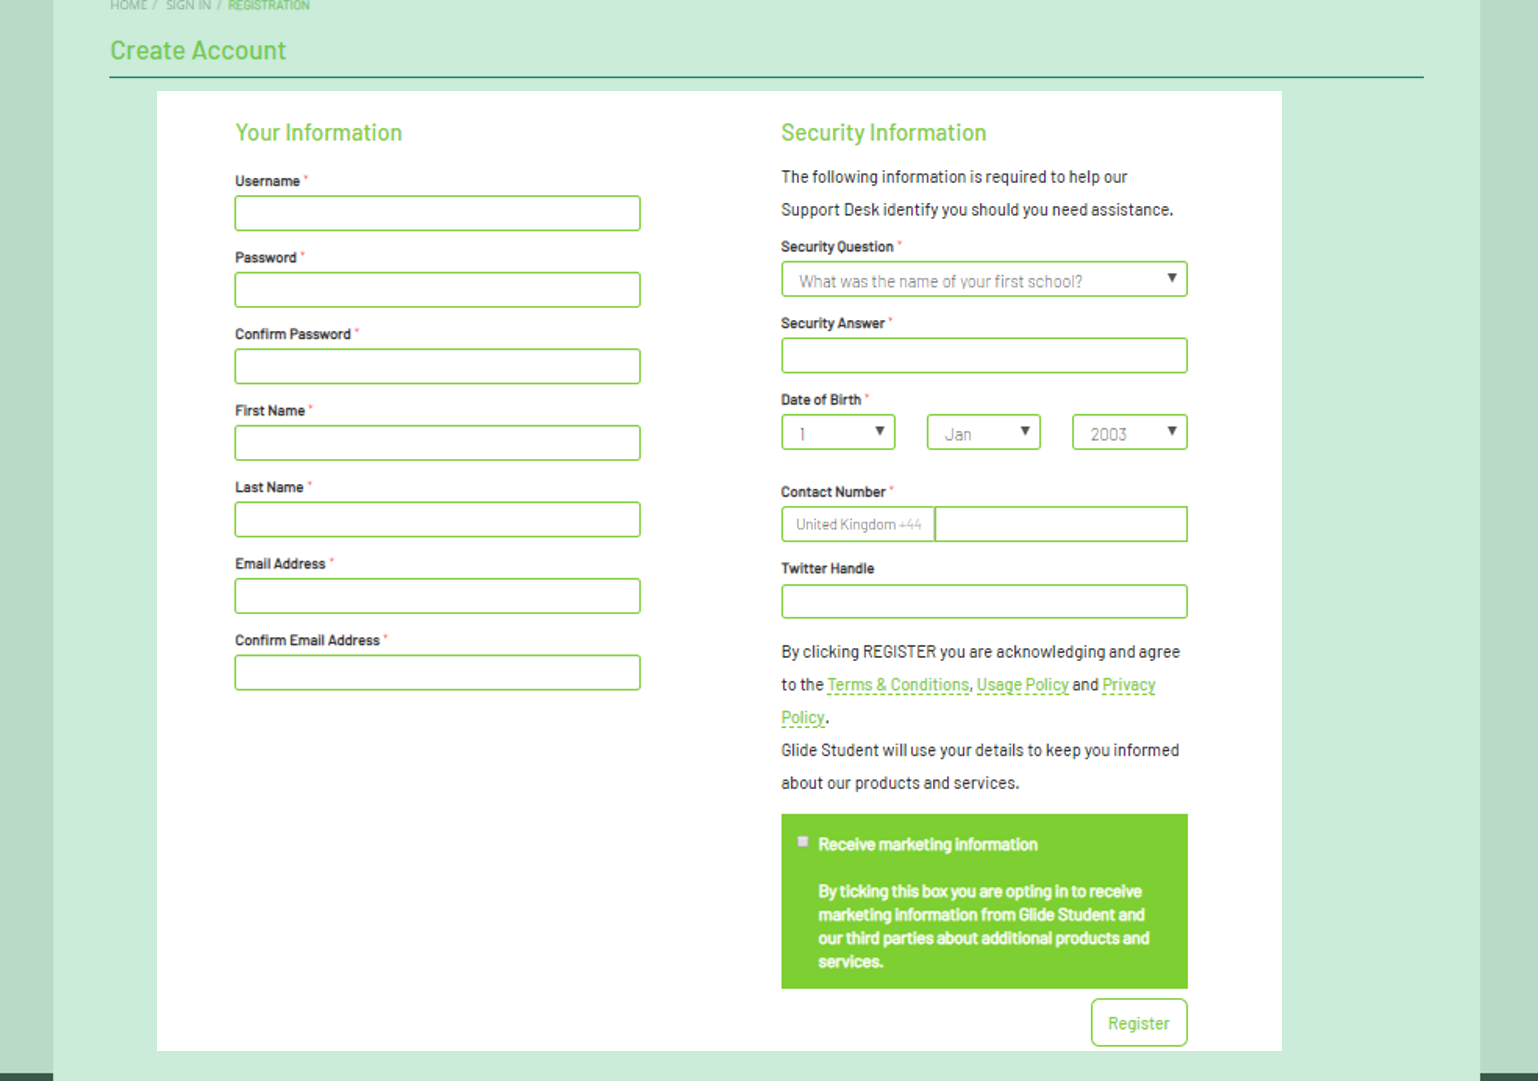
Complete all required account and contact details shown on the registration form.
- Your username is the name you will use to sign in to the internet and manage your Glide account.
- Your email address is used to send your registration and order confirmation.
- Your contact details, including your telephone number and any other requested contact information, can be used if you need support.
Step 4 – Add a voucher code, if applicable
- For a discount voucher, add the relevant service to your basket, then enter the voucher code on the basket page.
- For a voucher that provides a specific service, open the empty basket and enter the code. The service will be added to the basket automatically.
Step 5 – Complete checkout
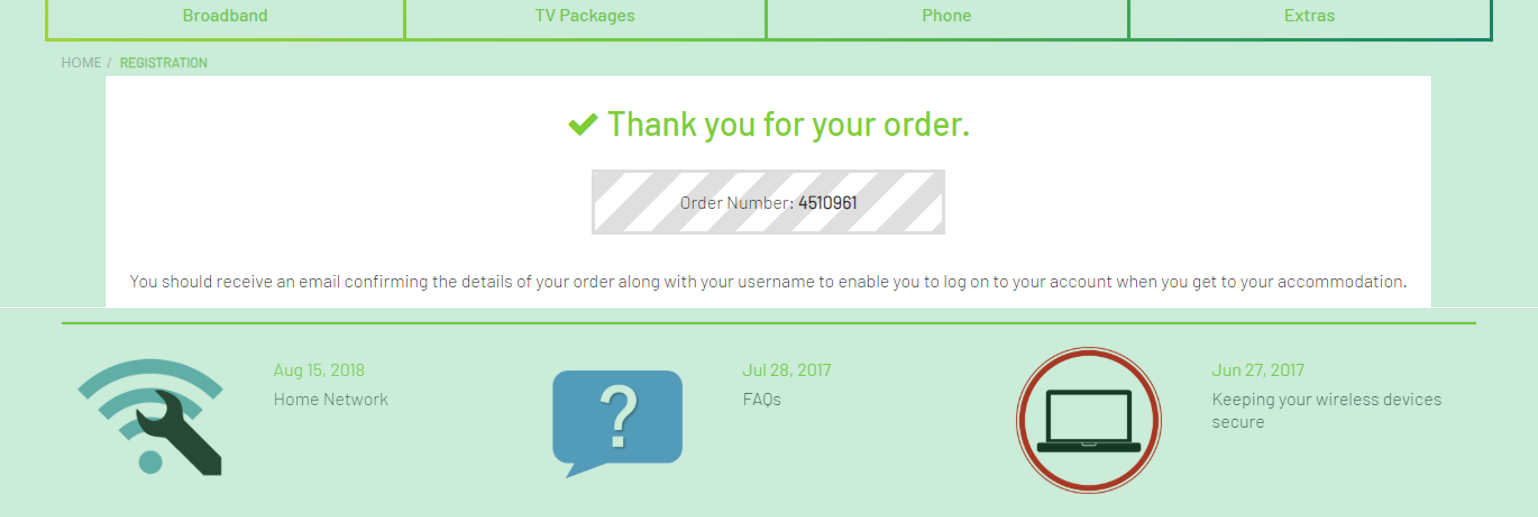
Review your order and complete the checkout process. When registration is successful, you will receive an on-screen confirmation and an email confirming your order.
You are ready to get online
Congratulations! You should now be able to browse the internet. You may occasionally be asked to enter your username and password again to renew your network access.
To amend your account information, sign in to your account and select Update My User Details. You can access your account at my.glidestudent.co.uk/account/login.
You must sign in separately on each computer, tablet or mobile phone that you want to connect, using the same Glide account.
Devices without a web browser, such as games consoles, smart TVs, streaming devices and smart speakers, must be added to your account using their MAC address. Follow our guide to adding a device to your Glide account.